Week 08 - Arduino part 2
- Lami'ah Nosarka

- Dec 3, 2023
- 1 min read

22/11/2023 - 29/11/2023
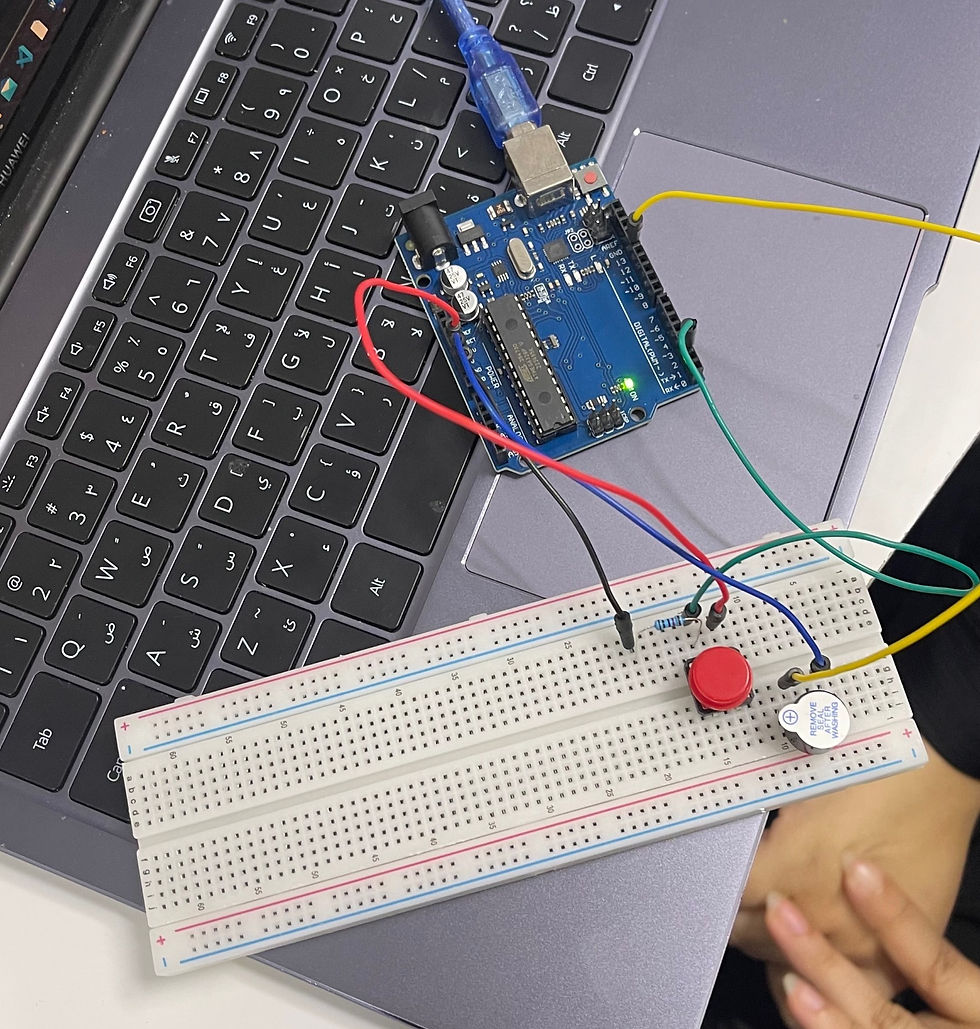
This week, we continued working with our Arduino boards. We started by connecting wires, a resistor, and a button to control the L light: pressing the button turned the light on, releasing it turned it off. We also reversed this so the light stayed on until the button was pressed.
Then, we added more wires and a buzzer. Pressing the button made the buzzer sound. We could switch this by changing the code in the Arduino IDE so that the buzzer would make a sound constantly and pressing and holding down the button would stop the sound.
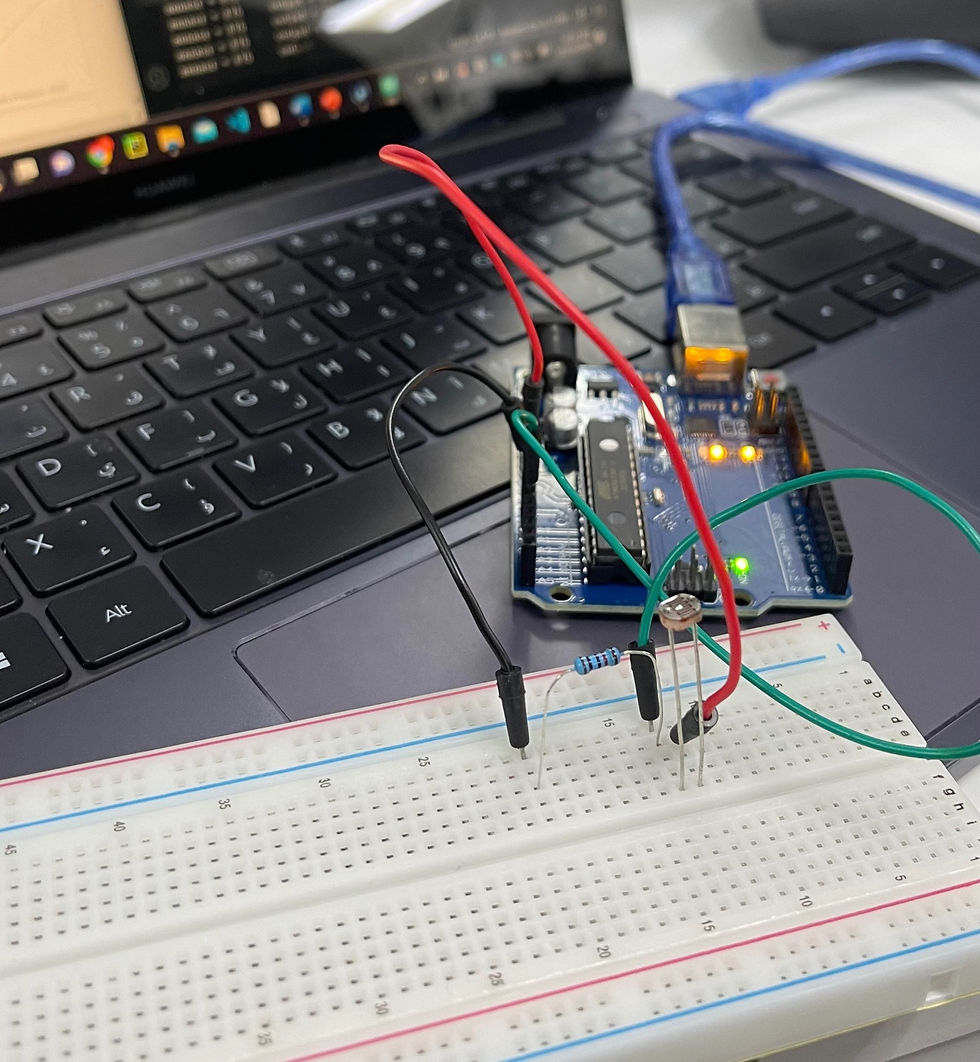
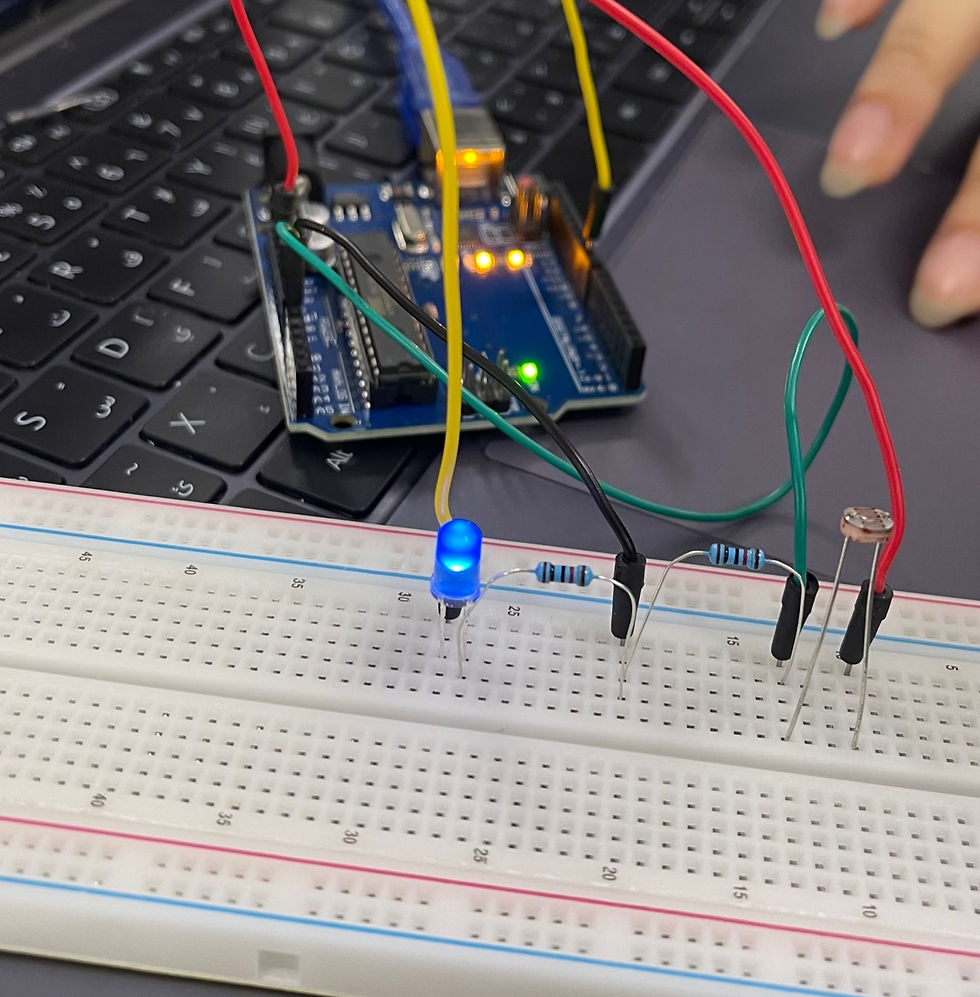
Finally, we experimented with the LED and LDR light sensor. At first, it was tricky to make the LED turn off when the sensor was covered, but after the lecturer explained the code, we got it to work on our circuit boards
Some questions and answers to recap this week's work:
Explain the analog to digital converter (ADC)
ADC converts analog signals into digital signals.
This is done by measuring voltage and converting it to binary.
ADC can also provide isolated measurements by converting input analog voltage or current into digital numbers.
Which ports in Arduino can be used for ADC?
The analog pins can be used for ADC
Pins A0 to A5
How to write to Serial Port in Arduino?
This can be achieved using the Serial Library
In the setup function, initialise the serial communication brand rate.
Use Serial.begin( );
In the loop function, use Serial.write( );
It is also important to ensure that a COM port is assigned
How a potentiometer works?
A potentiometer is a device with a rotating shaft.
Rotating the shaft changes the resistance.
Voltage passed through it can be measured as an analog value.
This allows for tracking the position of the shaft or knob.
How the LED dimmer works in Arduino when it can only give 0 or 5V output?
This can be achieved using the PWM technique.
PWM (Pulse Width Modulation), makes the LED look dimmer by changing how long it's on compared to how long it's off.
Pins labelled with ~ are capable of PWM output
Reference List:


Comments